Time Machine is an invaluable backup tool for MacBook users, providing a seamless and efficient way to safeguard your data. In this guide, we’ll walk you through the steps to effectively use Time Machine, ensuring that your important files and system settings are backed up and easily restorable.
This is why MacBooks are the Best Laptops for Business
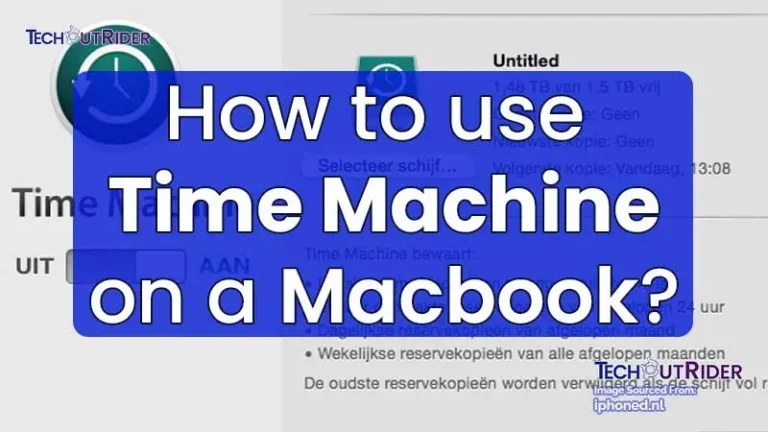
Step 1: Setting Up Time Machine
Connect an External Drive: Ensure you have an external drive with sufficient storage space. Connect it to your MacBook.
Open Time Machine Preferences: Navigate to “System Preferences” > “Time Machine” and toggle the switch to turn it on.
Select Backup Disk: Choose the connected external drive as your backup disk. Time Machine will automatically start backing up your files.
Step 2: Customizing Time Machine Settings
Exclude Items: Tailor your backup by excluding unnecessary files or folders. Click on “Options” in Time Machine Preferences and add items to the exclusion list.
Backup Schedule: Adjust the backup frequency to your preference. You can set Time Machine to back up hourly, daily, or manually.
Step 3: Monitoring Backups
Check Backup Status: Keep an eye on the Time Machine icon in the menu bar. It provides real-time information on the backup status.
Browse Through Backups: Explore your backups using the Time Machine interface to retrieve specific files from different points in time.
Step 4: Restoring Files with Time Machine
Access Time Machine Interface: To restore files, click the Time Machine icon and select “Enter Time Machine.”
Navigate Through Snapshots: Use the timeline to navigate through different snapshots. Locate the file you want to restore.
Restore Options: Select the file or folder and click “Restore” to bring it back to your current system or choose “Restore to” for a different location.
Step 5: Advanced Time Machine Tips
Encrypted Backups: For added security, encrypt your Time Machine backups. Enable this option in Time Machine Preferences.
Backup Multiple Drives: Time Machine can simultaneously back up multiple drives. Include additional disks in the backup by selecting them in Time Machine Preferences.
Conclusion
Mastering Time Machine on your MacBook is an essential skill to ensure the safety and recoverability of your data.
By following these steps and customizing settings to fit your needs, you can leverage Time Machine to its full potential, providing peace of mind in the face of unexpected data loss or system issues.
Regularly monitor your backups, stay proactive with exclusions, and confidently navigate through Time Machine snapshots to keep your digital world secure.
FAQs – Frequently Asked Questions
Q1. What is Time Machine, and why should I use it on my MacBook?
Answer: Time Machine is a built-in backup solution for macOS that automatically backs up your entire system. It’s crucial for safeguarding your data against accidental deletions, hardware failures, or system issues. Regular backups ensure you can easily restore your files and settings to a previous state.
Q2. Can I use Time Machine without an external drive?
Answer: No, Time Machine requires an external drive to store backups. Connect a dedicated external drive with sufficient storage capacity to ensure your MacBook has a reliable backup destination.
Q3. How often should I back up with Time Machine, and can I adjust the frequency?
Answer: Time Machine offers flexibility in backup frequency. You can set it to back up hourly, daily, or manually. The choice depends on your preferences and how frequently you generate or modify important files.
Q4. Is it possible to recover a specific file from a past backup?
Answer: Yes, Time Machine allows you to browse through past backups and recover specific files. Simply enter the Time Machine interface, navigate to the desired snapshot, and restore the file to your current system or an alternate location.
Q5. Can I encrypt my Time Machine backups for added security?
Answer: Yes, you can enhance the security of your backups by encrypting them. In Time Machine Preferences, enable the option to encrypt backups. This ensures that even if the external drive falls into the wrong hands, your data remains protected.